


User experience (UX) can either make or break a product. A beautiful interface doesn’t guarantee success; what truly matters is how easily users can accomplish their goals. Even small frictions like confusing navigation, unclear CTAs, or slow load times can push users away.
That’s where a UX audit comes in. A UX audit is like a health check-up for your digital product. It helps you spot hidden issues, improve usability, and increase engagement, all without a complete redesign.
In this blog, we’re going to guide you through a 7-step UX audit checklist you can apply today. Plus, we’ve included a free downloadable checklist template at the end.
Step 1: Define the Goals of the Product
Before auditing, you need clarity. Ask:
- What is the product designed to do?
- What does success look like for the business?
- What does success look like for the user?
Example: For an e-commerce app, business success might be faster checkout with less drop-off.
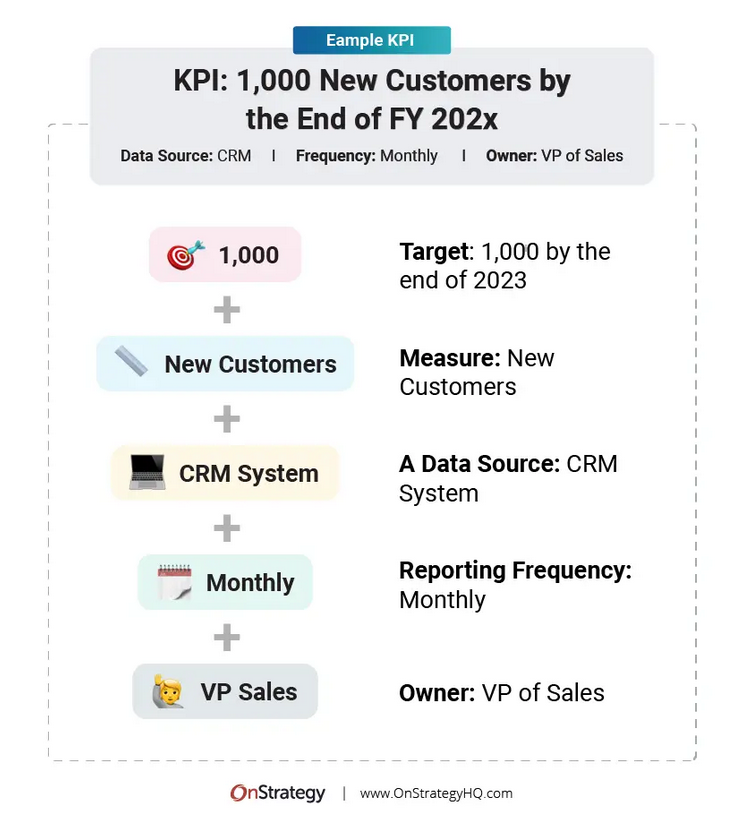
Actionable Tip: Write down 2–3 business KPIs and 2–3 user success metrics before starting.
Step 2: Map the User Journey
Understanding how users move through your product highlights where friction occurs.
- Start from the entry point (home page/app open).
- Track the steps to task completion (checkout, sign-up, booking).
- Determine where users drop off.
Example: In a food delivery app, users drop off at the “Add Address” step if it’s too complicated.
Actionable Tip: Use a tool like Hotjar, GA4, or Mixpanel to visualize user flow.

Step 3: Evaluate Navigation & Information Architecture
Confusing menus or too many options can confuse users.
- Is the navigation easy to use?
- Are users able to reach what they want within 2–3 clicks?
- Is the content organized logically?
Example: A SaaS tool with hundreds of features needs clear grouping and search.
Actionable Tip: Ask 3 non-designers to perform a task and note if they struggle to find it.

Step 4: Review Content & Microcopy
Words are as important as design. Poorly written CTAs or long instructions increase confusion.
- Are CTAs clear and action-driven? (e.g., “Start Free Trial” vs “Submit”)
- Is the content scannable (headings, bullets, short paragraphs)?
- Is tone consistent with brand personality?
Actionable Tip: Replace jargon with simple, human language.

Step 5: Check Visual Design & Consistency
Visual clutter reduces trust. A clean, consistent design makes an interface look more professional.
- Are fonts, colors, and button styles consistent?
- Is spacing uniform across screens?
- Do visuals support usability (icons, hierarchy, contrast)?
Example: Inconsistent button colors (blue for “Submit,” green for “Next”) lead to confusion.
Actionable Tip: Create a mini style guide to align future designs.
Step 6: Test Performance & Accessibility
Even the best design fails if the app is slow or inaccessible.
- Page load under 3 seconds?
- Mobile-friendly design?
- Accessible for people with disabilities (contrast, alt text, keyboard navigation)?
Example: Including alt text on product images improves SEO and visually impaired user experience.
Actionable Tip: Run a quick test on Google PageSpeed Insights and the WAVE accessibility tool.

Step 7: Collect User Feedback & Prioritize Fixes
Analytics tell you what users do, but feedback explains why.
- Run quick surveys (“Was this page useful?”).
- Conduct short usability tests (5 users can reveal 80% of issues).
- Prioritize issues by impact (High, Medium, Low).
Example: Users might say, “I couldn’t find the filter option”, that’s gold for prioritization.
Actionable Tip: Write down issues in a table: Problem → Why It Matters → Priority → Fix Plan.

Final Thoughts
A UX audit doesn’t need to be overwhelming. By following these 7 simple steps, you can uncover hidden friction, simplify user journeys, and ultimately increase conversions.
Remember: Good UX = Less Friction = More Growth.
If you’d like us to run a professional UX audit for your product, feel free to contact Design Dream.


